The feature only works with drives using the NTFS File system, and it has a few drawbacks. In low-end computers, the file compression feature of Windows 11 might affect the performance. When you copy/move a compressed NTFS file to a different folder or drive, NTFS will first decompress the files, copy/move the file to the new location, and then it will again recompress the file. This extra process will use your CPU and RAM resources, affecting the system’s performance.
Steps to Enable File Compression on Windows 11
However, if you have a high-end PC, you won’t notice any performance issues while moving the compressed files between folders or drives. Here are some simple steps to enable file compression on Windows 11 operating system.
First, open the File Explorer on your PC and navigate to the folder you want to compress.
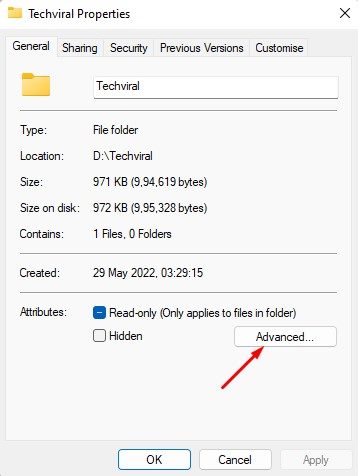
Right-click on the folder and select Properties.
On the Folder Properties, switch to the General tab and click on the Advanced option.
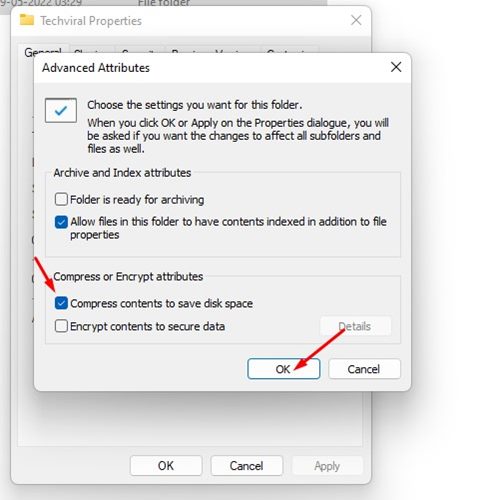
On the Advanced Attributes, check the option Compress contents to save disk space. Once done, click on the Ok button.
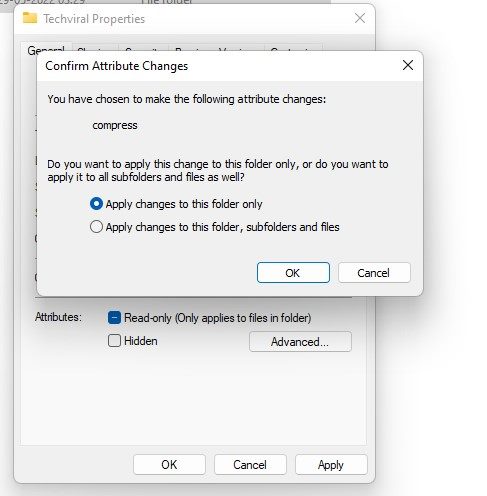
Select Apply changes to this folder only option on the next prompt and click on the Ok button.
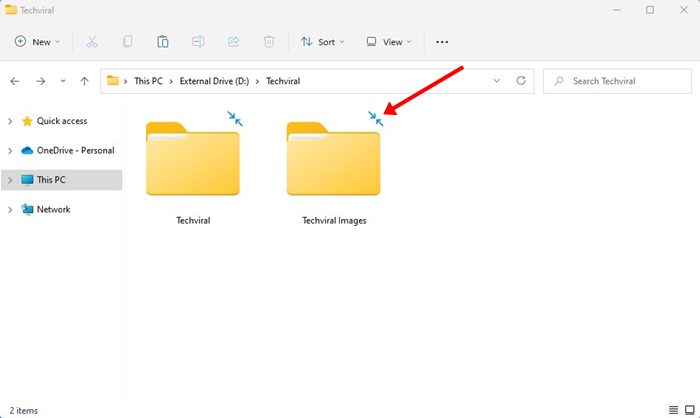
That’s it! This will activate the NTFS file compression on your selected folder. You would notice two blue arrows above the folder. These arrows indicate the folder had been compressed.
Compress Drive with NTFS on Windows 11
If you want, you can compress an entire drive with NTFS file compression on Windows 11. For that, follow some of the simple steps we have shared.
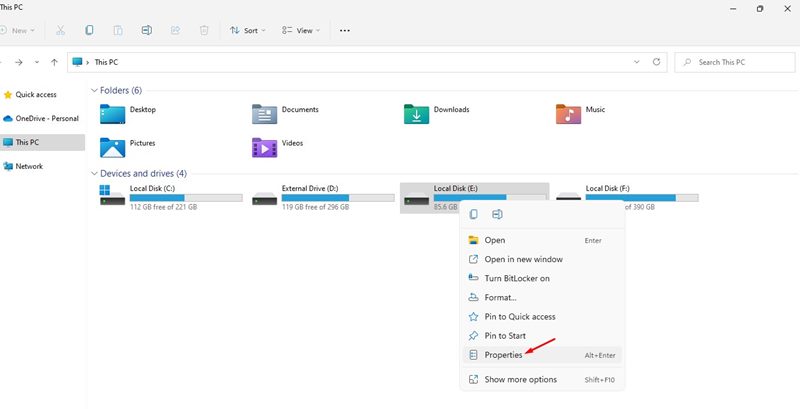
First of all, open the File Explorer on your PC. Next, right-click on the drive where you want to enable the NTFS compression and select Properties.
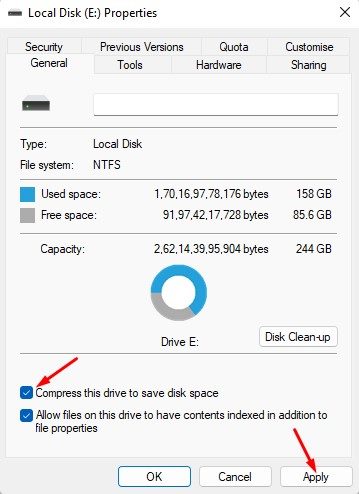
On the Drive Properties, check the option ‘Compress this drive to save disk space’.
Once done, click on the Apply button.
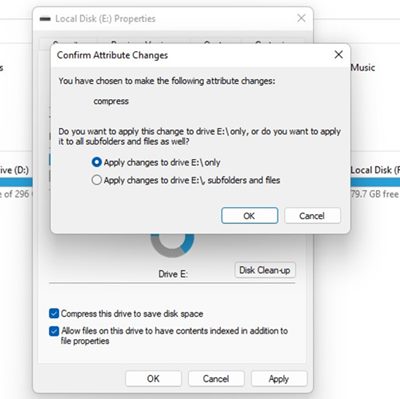
On the next pop-up, select Apply changes to this drive only and click on the Ok button.
That’s it! This will enable the NTFS compression on your selected drive. Also Read: How to Change Wallpaper in Windows 11 Without Activation So, that’s how you can enable file compression in Windows 11. If you have a low-end PC, you can allow the NTFS compression to compress folders or drive that you don’t use often. In this way, you will be able to save some disk space. If you face a performance issue, you need to revert your changes to disable the File compression.
Δ