The performance Monitor tool in Windows 11 is a little more advanced than Task Manager. The tool lets you monitor your system resource usage in real-time. System administrators mainly use the tool to examine how programs running on their computers affect the computer’s performance. Task Manager is designed for regular users, whereas the Performance Monitor is for technical users who want to monitor their system and collect information in a log to analyze it later.
Generate System Performance Report on Windows 11
With the Performance Monitor, you can generate a log file of your device’s Performance report. After generating a log file, you can analyze it at a later time. Hence, this article will share a step-by-step guide on generating system performance reports on Windows 11. Let’s get started.
How to Open Performance Monitor in Windows 11
Before generating the report, you should know how to open the performance monitor tool in Windows 11. There are multiple ways to open the Performance Monitor tool; we have listed the easiest one.
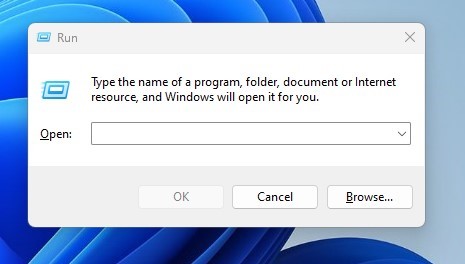
Click on your keyboard’s Windows key + R button. This will open the RUN dialog box.
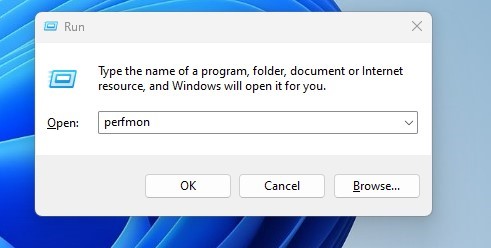
On the RUN dialog box, type perfmon and click on the Ok button.
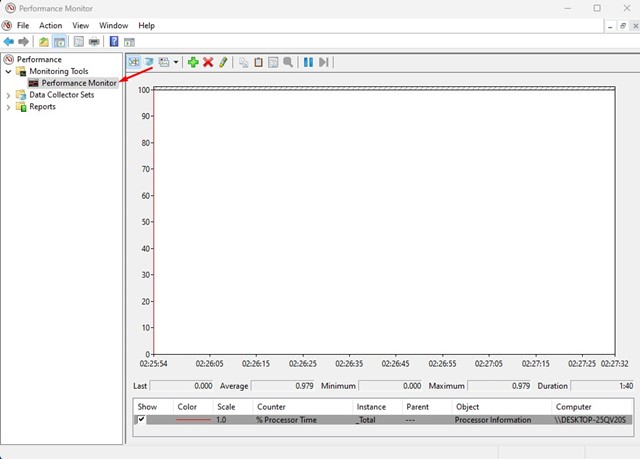
This will open the Performance Monitor on your Windows 11.
That’s it! This is the easiest way to open Performance Monitor on Windows 11.
Generate System Performance Report in Windows 11
Now that you know how to access the Performance Monitor tool in Windows 11, you can use it to generate a full system performance report. Here are some simple steps to generate a system performance report using the Performance Monitor tool.
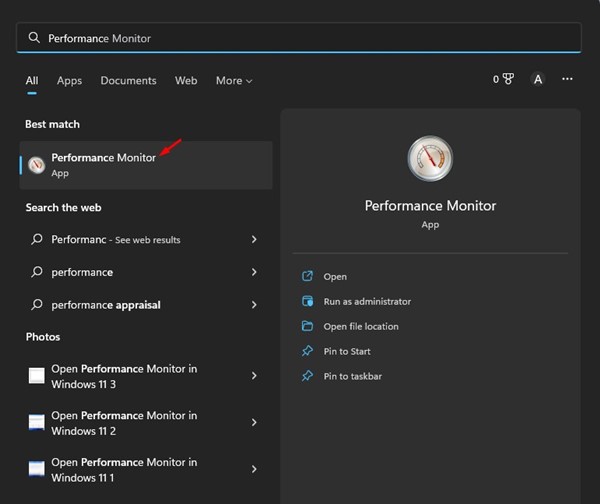
First, click on the Windows 11 search and type in Performance Monitor. Next, open the Performance Monitor app from the list of available options.
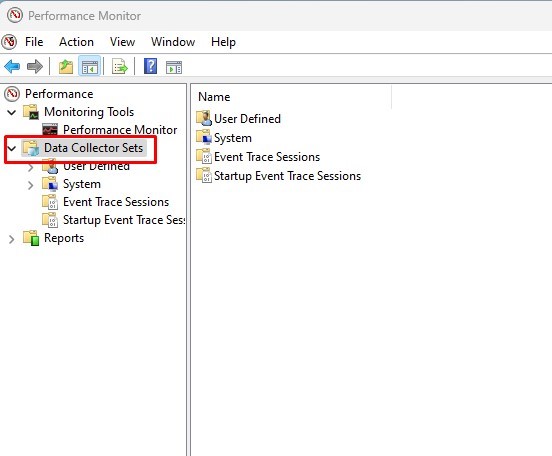
On the Performance monitor, expand the Data Collector Sets.
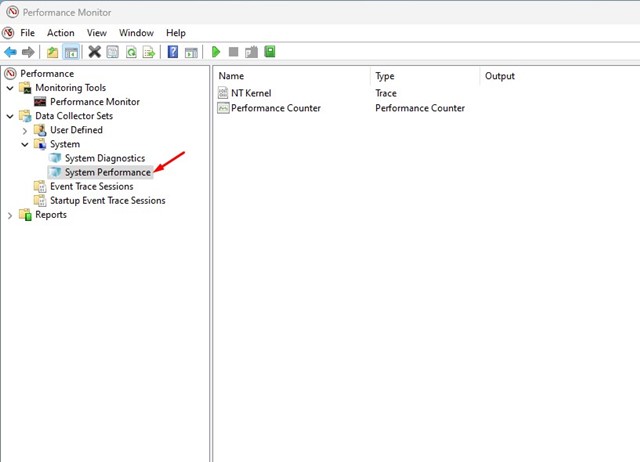
Now expand the System and click on the System Performance.
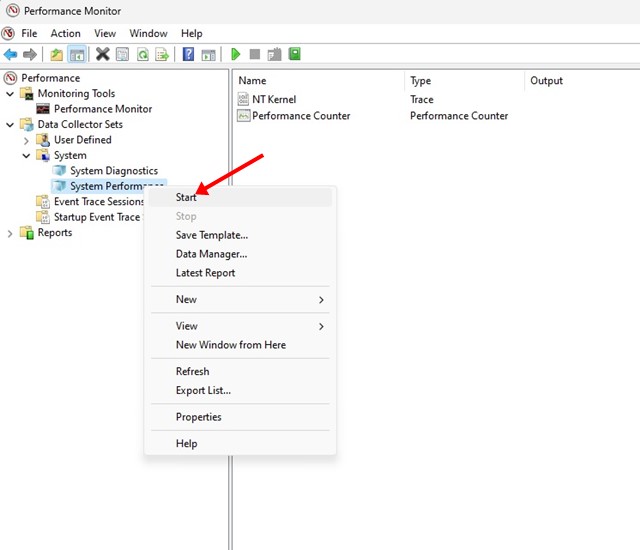
Next, right-click on System Performance and select Start.
You must wait for a few seconds or minutes until the Performance Monitor generates the report.
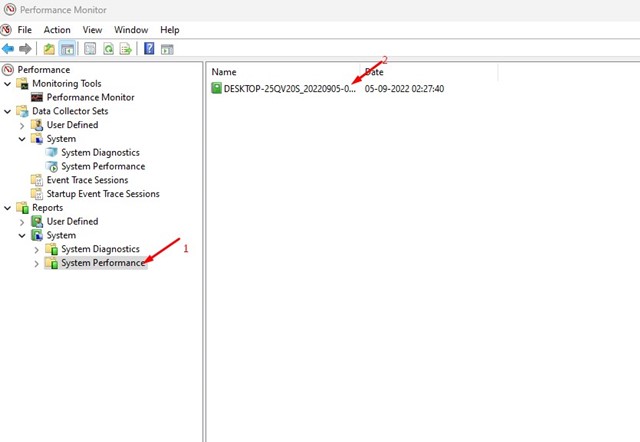
After a few seconds, navigate to Reports > System > System Performance.
On the right side, you will find all generated reports. You can check the time stamp to know when Performance Monitor generated the report.
If you want to read the report, double-click on it.
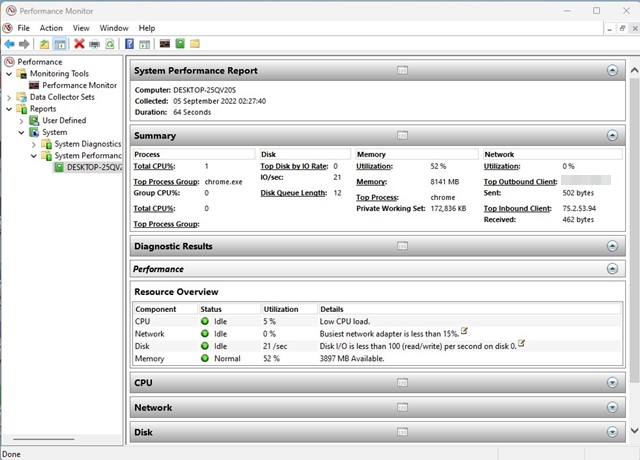
The System Performance report will show you many diagnostic details about your disk, network, CPU, Memory, and other system resources.
That’s it! This is how you can use Performance Monitor on Windows 11 to generate a system performance report. Also Read: How to Take Long Screenshots on Windows 11 While Performance Monitor is a great tool, it isn’t very easy to operate. The system performance report it generates looks clean and can be read by any non-technical user. So, this guide is about generating a system performance report on Windows 11. If you need more help generating performance reports, let us know in the comments below.
Δ